Module 3 Formstorming

Weekly Activity Template

Arrththi Thavabalanathan


Project 3


Module 3

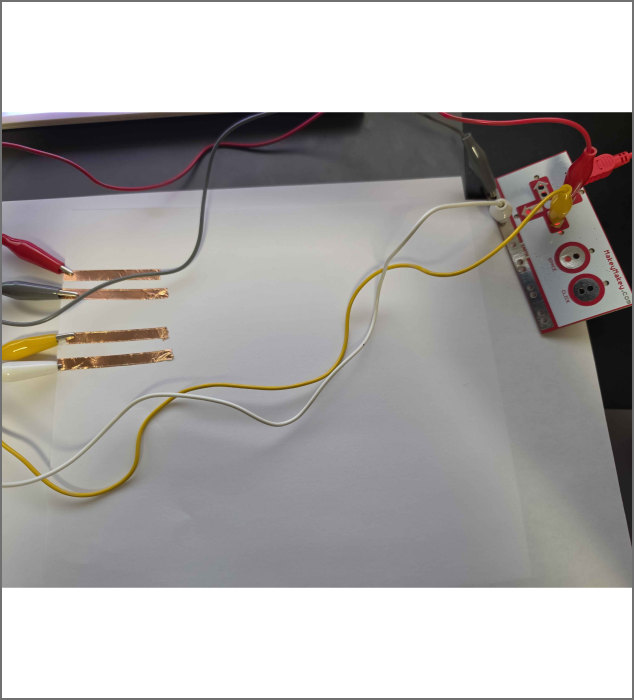
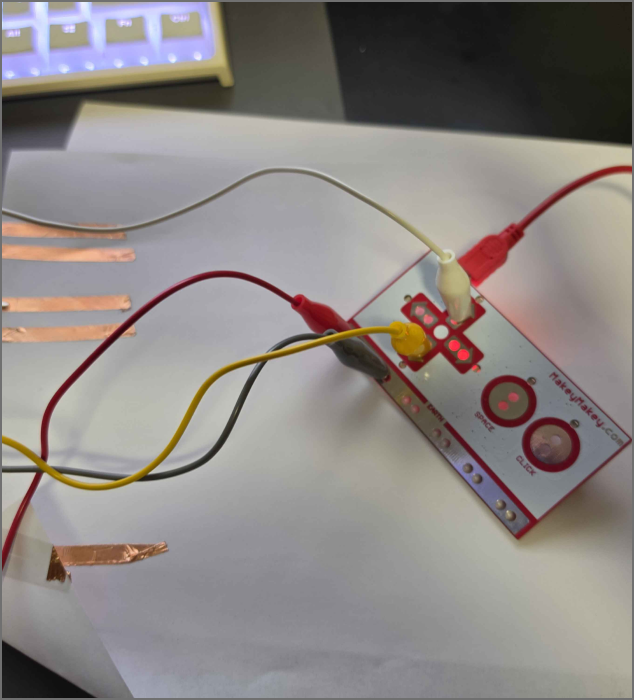
We will be exploring p5.js more advanced while using the makey makey to create something interactive!

Activity 1

Some examples I checked and expirmented with Another example I expirmented with I tested out the first sketch in tutorial 1 and used my makey makey this is the simple setup I created with my makey makey to test it all out testing is essential to ensuring the rest of the tutorial/project will go well, so this is a postive testing Played around with the first sketch, it essentially moved the orb around a bit I wanted to experiment with the colours so I changed the background to red this one is where I try to make the colour orb change when it moved postions, this required me to add colour to each key press first time playing around with the sketch example I added a switch to control the camera and simple circuit to move with all key presses This is a demonstration of the makey makey working on the camera toggle This is where I tried to add colour to the torus but it made me show the skeleton of the shape this is me trying to turn the camera angle with my makey makey trying the advanced sketch example I used a different background and added a bigger circle to see what is really happening I changed the colour to experiment with changing the code I used the draw function to create a audio receptive movement from my mic and separating the key presses functionality I removed the particle affects because it was too clustered with the other animation removed excess animation to simplify my new sketch I played around with the tutorial sketches and changed it into something more animated. This changes colours per key press, however I could not be able to randomize it. This code leaves a trail and changes colour per key press. this one is randomized I changed the torus background to give it a real look, I was not able to modify the skeleton torus. Seems like I am using a pre model. The second torus example where I play around with the cameras. I changed outer rims to be more uniformed with the circle, as opposed to being a star like in my previous example.

Activity 2

put a description here or you will lose grades put a description here or you will lose grades put a description here or you will lose grades put a description here or you will lose grades put a description here or you will lose grades put a description here or you will lose grades put a description here or you will lose grades put a description here or you will lose grades put a description here or you will lose grades put a description here or you will lose grades put a description here or you will lose grades put a description here or you will lose grades put a description here or you will lose grades put a description here or you will lose grades put a description here or you will lose grades put a description here or you will lose grades put a description here or you will lose grades put a description here or you will lose grades put a description here or you will lose grades put a description here or you will lose grades put a description here or you will lose grades put a description here or you will lose grades put a description here or you will lose grades put a description here or you will lose grades put a description here or you will lose grades

Project 3


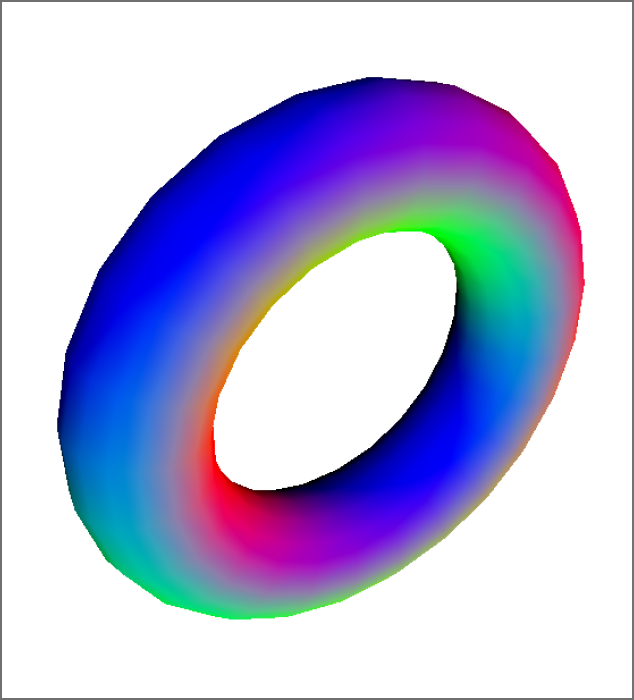
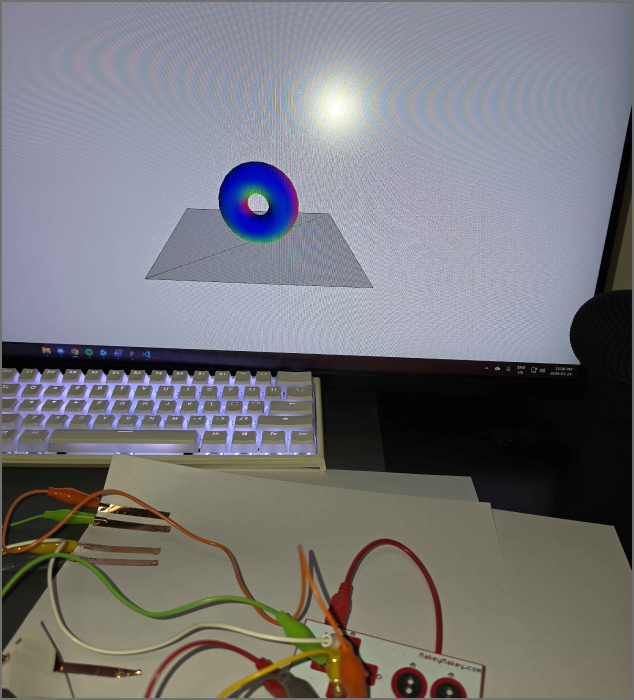
Final Project 3 Design

PLACEHOLDER TEXT, replace this with an actual description

test2Lorem ipsum dolor sit amet, consectetur adipiscing elit
×

Powered by w3.css